How to create an Single invoice via UI
By creating an invoice and sending it for payment to your client, the funds get to your wallet. This is convenient when you want to issue an invoice to pay for a product or service. Please follow several steps to create it from your account.
Go to the "Payments/Invoices" tab and click "Create invoice" or select the "Top-up" button from the "Assets" tab and select "Get funds from a customer".


Select the currency in which the invoice will be created. The number of available currencies depends on the assets you've added to your account. You can also select a fiat currency to issue the invoice in its equivalent fiat amount.


Choose the correct payment information. Specify the invoice amount in cryptocurrency or its fiat equivalent. To shift the transaction fee to the payer, check the "User pays the fee" checkbox.

Please provide a mandatory description for the created invoice.

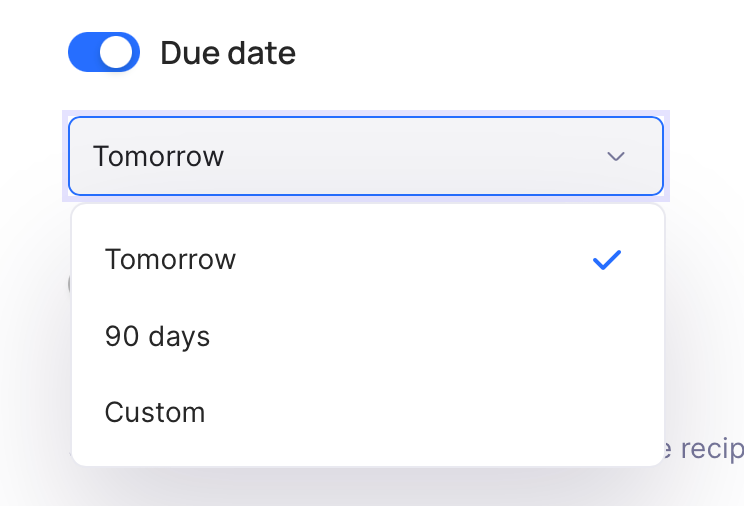
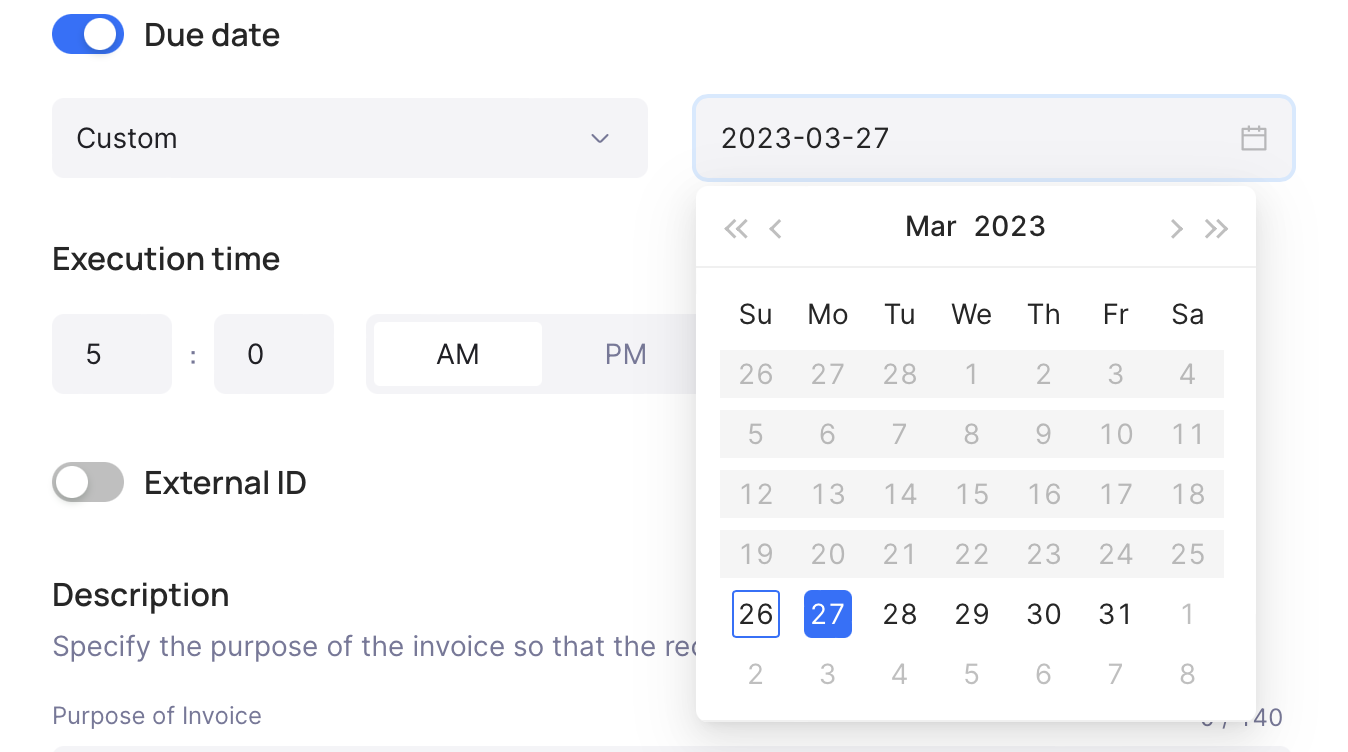
Select the life duration of the invoice. Use our presets or select a desired custom one. If the funds have not been received during the lifetime of the invoice, it will switch to the Archived status.


If you need you can specify "External ID". It's not mandatory but it can be helpful if you need to compare the identification of invoices in an external service or program.

After creating an invoice, you will be taken to a page with general information about it

You can send the invoice manually by copying the link from the previous paragraph or send it to your client by email

At the moment the language of the invoice is based on the client's browser language.

Then you can check all your created invoices, their status, and other information in the "Invoices" tab. Using status filters or the search field you can easily find the invoice that you need.

Select the invoice you need and in the next window, you can find additional information about the invoice like status lifetime changes.

Last updated

